AUDIO EDITING
When editing audio, it’s helpful to have a specific functions for each of your tracks. Unlike video sequences, audio tracks are layered together, one on top of the other, and not spliced into a single track. Sound designers often lay out tracks with blank space between audio clips. This makes it easier to extend clips without butting up against another sound.
in this example, sound design is well underway on a project. Note that, while editing audio, it's possible to "see" the audio in the source monitor [a]. This is the audio waveform.
There are four tracks layered on top of each other. The blue track [b] is the audio that was recorded with the video footage (so-called "sync audio").
There are four tracks layered on top of each other. The blue track [b] is the audio that was recorded with the video footage (so-called "sync audio").

The other tracks below the blue sync audio track are:
[c]: Sound Effects. These can be very pronounced (a splash) or subtle (quiet body movement)
[d]: Room Tone or Ambience. This can be almost inaudible "white noise" or more pronounced background noise
[e]: Music. This can be pre-existing music or underscore written expressly for the project
It is not uncommon to have multiple tracks of any given category of audio: dialog, effects, ambiance and music. Fully realized sound designs frequently use dozens of tracks.
MONO VS. STEREO
With some editing software, combining mono and stereo audio clips is difficult. Not so in Premiere, which can accommodate both mono and stereo audio in the same project.
A mono audio clip, will appear as a single waveform in the source monitor.
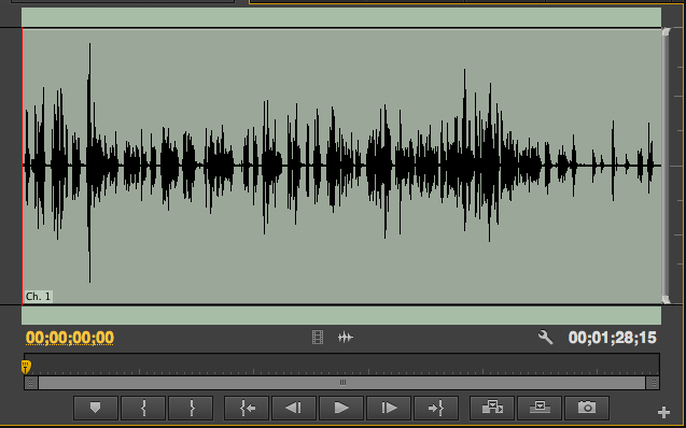
Stereo audio will appear in the source monitor with two tracks stacked on top of one another. The top track is the Left Channel and the bottom track is the Right Channel.

ADJUSTING AUDIO IN THE SOURCE MONITOR
Audio is adjusted in the Source Monitor in the same way that video is edited before it is placed on the Timeline. That said, audio is displayed in a waveform format, a visual representation of a sound recording's pitch and volume patterns.
Move the playhead left or right to scrub through the waveform and listen to the sound file. Using the arrow keys, you can scrub through the waveform at 1/30th of a second in either direction.
Let's begin our exploration of sound editing by working with the audio that accompanies one of our video clips. We start by loading the source material into the Source Monitor, just as we would when editing picture.
Pull down the menu in the upper right corner of the Source Monitor and select [Audio Waveform]. This will display the audio waveform of the video clip.

Here we see the waveform display in the Source Monitor. Should we want to see the video clip's picture track again, we would pull down the menu again and select [Composite Video].

ADJUSTING AUDIO IN THE TIMELINE
Audio waveforms can be displayed in the Timeline as well. We need to see the waveforms in the Timeline in order to carefully mix tracks. This allows us to manipulate the audio levels of each individual audio clip.
To make the waveform visible on an audio track in the Timeline, click on the pulldown toggle in the track header.

Adjusting audio in Premiere is completely non-destructive, in other words, nothing will ever be changed in your original media file if you need to revert back to it.
A thin yellow line runs through the waveform. We can adjust the volume of the track by pulling this line up or down.

In this instance, we have greatly lowered the volume by pulling the yellow line all the way down.

USING KEY FRAMES TO ADJUST AUDIO
We often need to make finer adjustments to an audio clip. By adding key frames, we can make multiple adjustments within a single clip.
We can add key frames to a clip either by activating the key frame button on the track header [a] and then clicking on the yellow line or by holding down [Ctrl] (Windows) or [⌘] (Apple) while clicking on the line.
Once we have added key frames [b], we can pull them up or down to adjust volume at precise points.
Once we have added key frames [b], we can pull them up or down to adjust volume at precise points.

To remove a key frame, simply click on it and then press [delete].
Click here to proceed to the next section of this editing guide.
