EXPORTING
The final step in completing an editing project is exporting. This permits us to put our finished video on Vimeo, YouTube or to view it as a Quicktime movie. Follow these simple steps to export a final product from Premiere.
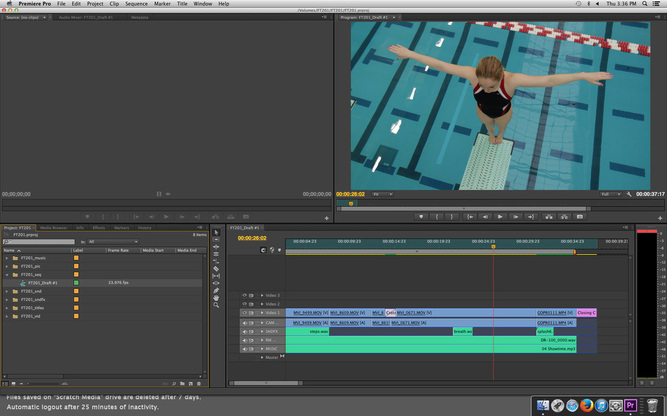
The first step is identifying the material we want to export. In this case, we want to export our entire completed sequence, so we have selected the whole sequence by marking in- and out-points at the beginning and end in the Timeline.
Next, we select Export from the File Pulldown Menu on the main toolbar. The complete pathway to export our project is File > Export > Media.

Now we arrive at the Export Dialog Panel. There are a lot of choices possible here— so many that the options can become overwhelming— but it's important to pay attention to these settings. Premiere often will offer default export settings that are way off the mark!

We can avoid a lot of problems by changing just three crucial settings in the Export Dialog Panel.
The first two are near the top of the list of options in the Dialog Panel. There we find two pull-down menus, one for Format, the other for Preset.
In the Format window, we want to select H.264. This is the most common form of video compression used to make Quicktime movies.
Next, in the Preset window, we want to select HD 1080p 23.976. "1080p" refers to the resolution and format of the video; "23.976" indicates the frame rate.
The third important selection is at the bottom of the Dialog Panel. Pull down the menu in the Source Range window. Select the appropriate range for export. If you want to export everything in the Timeline, select Entire Sequence.
Here's what the Dialog Panel looks like after making these selections:

One more step before we export: click on the Output Name window. Yes, this will let you rename your sequence if you like, but there's more to it than that.

Clicking on the Output Name window opens up a finder window that lets you navigate to the folder where you want to store your movie. Completing this step will make it much easier to locate your finished movie when export is complete.
Once this step is done, you can click on the [Export] button.
Once this step is done, you can click on the [Export] button.

Here we see exporting underway. For every one minute of your sequence, it should take about ten minutes to render. Keep that in mind when exporting your video!

